New Zealand rewards good gear. One day you’re chasing surf spray in Raglan, the next you’re under a starry Mackenzie sky or squeezing into a windswept DOC hut. A smart camera makes those moments stick. This guide explains what a camera is, how it works, the main types, the trade-offs, and how to choose and use one with confidence in Aotearoa.
What is
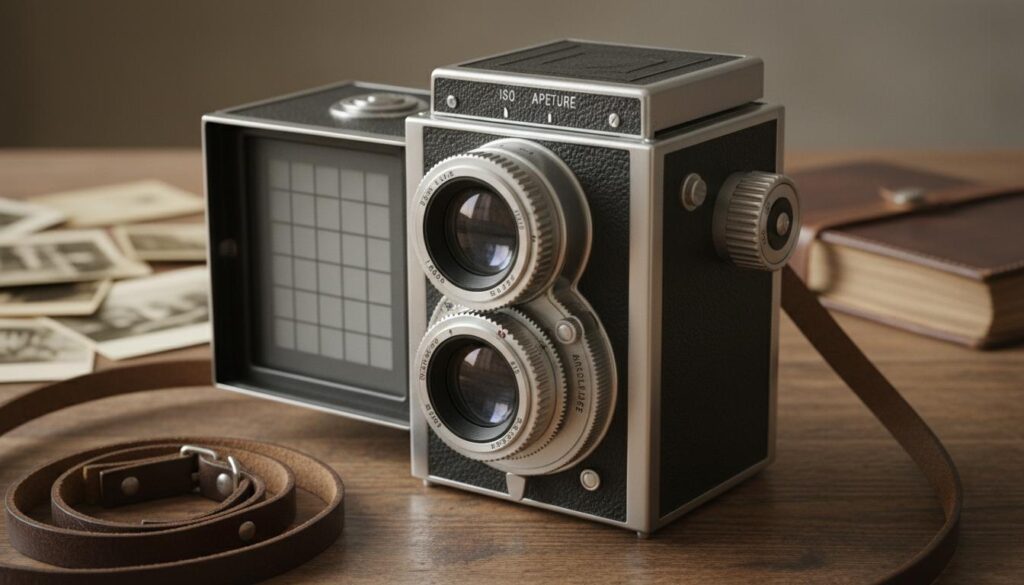
A camera is a device that records light to create a photo or video. It uses a lens to focus a scene onto a sensor, then saves the result to memory so you can share, print, or edit it.
Most modern cameras—mirrorless, DSLR, compact, or action—share the same building blocks:
- Lens: focuses light and controls how wide or tight the view is.
- Sensor: a light-sensitive chip (CMOS) that captures detail and colour.
- Processor: turns raw sensor data into JPEGs, RAW files, or video.
- Shutter and aperture: manage how much light hits the sensor and for how long.
- Autofocus system: detects and locks onto subjects, often eyes, faces, birds, or vehicles.
- Viewfinder/screen: lets you compose and review.
- Storage and power: memory cards and batteries keep it running.
How it works
From light to file
Light passes through the lens. The aperture (f-number) sets the opening size; a lower f-number allows more light and a shallower depth of field. The shutter controls exposure time. ISO boosts sensor sensitivity. Together, shutter speed, aperture, and ISO set brightness and motion blur.
Autofocus and subject detection
Modern systems use phase-detect pixels on the sensor for fast, accurate focus. They can track eyes, animals, and vehicles. That helps with fast rugby plays, seabirds at Muriwai, or kids running on the beach. Contrast-detect systems are accurate but slower in low light.
Sensor tech and shutters
- CMOS sensors dominate; BSI (back-side illuminated) improves low-light performance.
- Stacked sensors read out data quickly, reducing rolling shutter and enabling high frame rates.
- Mechanical shutters use physical curtains; electronic shutters are silent but can bend fast-moving subjects if readout is slow. Global shutters avoid that but are less common.
Stabilisation
In-body image stabilisation (IBIS) shifts the sensor to counter shake. Paired with lens stabilisation, it saves shots at slow shutter speeds—handy when wind gusts race across the Canterbury Plains.
Video pipeline
- Resolution and frame rates: 4K is standard; 4K60 is great for smooth movement; 1080p is lighter to edit.
- Colour and profiles: 10‑bit 4:2:2 and log profiles preserve detail for grading.
- Codecs and bitrates: HEVC/H.265 and high bitrates keep footage cleaner.
Storage, power, and reliability
- Memory cards: SD UHS‑II (fast), CFexpress (very fast for bursts and 4K/8K video). Keep spares dry in the backcountry.
- Batteries: cold reduces capacity—carry a warm spare on alpine trips.
- Weather sealing: useful in drizzle and sea spray. Even sealed bodies appreciate a simple rain cover.
Types / examples
Different jobs call for different tools. Here are the main camera types you’ll see in NZ stores.
- Smartphone camera: always with you; computational tricks produce strong results in good light.
- Compact/point‑and‑shoot: pocketable with a zoom; limited in low light and manual control.
- Action camera: tiny, rugged, stabilised; ideal for biking the Timber Trail or surfing at Piha.
- Bridge/superzoom: long reach for wildlife or sport; small sensors, weaker in dim conditions.
- Mirrorless: interchangeable lenses, fast autofocus, strong video; the mainstream choice.
- DSLR: optical viewfinder, great battery life; larger and now less common for new buyers.
- Instant and film: tactile, creative; slower workflow and ongoing film cost.
- Medium format (digital): exceptional detail and dynamic range; big, pricey, studio-focused.
| Type | Best for | Strengths | Trade‑offs | NZ use case |
|---|---|---|---|---|
| Smartphone | Everyday snapshots | Always with you, easy sharing | Limited lenses, small sensor | Hikes where weight matters |
| Action camera | Adventure and POV | Rugged, waterproof, stabilised | Tiny sensor, fixed lens | Surfing, mountain biking, skiing |
| Compact | Travel light | Pocket size, simple | Low‑light limits | City breaks, family trips |
| Bridge/superzoom | Wildlife reach | Huge zoom range | Image quality behind larger sensors | Birding on the estuaries |
| Mirrorless | Photos and video | Fast AF, strong video, lenses | Body + lenses cost and size | Weddings, landscapes, sport |
| DSLR | Stills with optical finder | Ergonomics, battery life | Heavier, fewer new lenses | Field work away from power |
| Instant/film | Creative prints | Tangible results, fun | Cost per shot, slower | Events, keepsakes |
Pros and cons
Why pick a dedicated camera over a phone?
- Image quality: larger sensors (APS‑C, full‑frame) handle low light and high contrast better.
- Lenses: choose wide for Fiordland vistas, telephoto for Eden Park action, macro for native flora.
- Autofocus and tracking: reliable for fast subjects and erratic birds.
- Ergonomics: physical dials, viewfinders, custom buttons.
- Durability: better in rain, dust, and salt spray.
What you give up
- Cost: bodies, lenses, and accessories add up.
- Size and weight: more to carry on long tramps.
- Learning curve: manual controls and file management.
- Maintenance: sensor cleaning, firmware updates, backups.
How to use or choose
Step‑by‑step: how to choose the right camera
- Define what you shoot most. Landscapes, people, sport, wildlife, vlogging, or a bit of everything.
- Pick a sensor size for your needs.
- Micro Four Thirds: small, light kits; deep depth of field; great for travel and video.
- APS‑C: balance of size and quality; popular for wildlife and general use.
- Full‑frame: best low light and background blur; larger, pricier lenses.
- Choose a lens system you can grow with. Check availability in NZ for wide, telephoto, and fast primes.
- Check autofocus. Look for reliable eye/face/subject detection and good tracking in low light.
- Assess video features if you film. 4K30/60, 10‑bit, log profiles, mic/headphone ports, and no heavy crop.
- Hold it. Comfort matters. Try bodies at retailers like Photo Warehouse, Progear, PB Tech, Noel Leeming, or Rubber Monkey.
- Weather and durability. Sealing helps with rain and sea spray; magnesium or composite builds resist knocks.
- Storage and power. Dual card slots add redundancy; common batteries and USB‑C charging are practical on the road.
- Support and warranty. Buy from NZ‑based sellers for Consumer Guarantees Act protection and local service.
- Plan your first two lenses. A standard zoom plus a fast prime (e.g., 24–70mm and 35mm/50mm equivalents) covers most work.
Quick setup: getting a new camera ready
- Update firmware, set date/time, and region.
- Set file formats (RAW+JPEG if you edit; JPEG/HEIF for straight-out-of-camera).
- Configure autofocus: single-point for static subjects, continuous tracking for people, pets, or birds.
- Turn on IBIS and lens stabilisation if available.
- Assign custom buttons for ISO, AF mode, and exposure compensation.
- Enable anti-flicker at 50 Hz for indoor lighting in NZ, or use shutter speeds like 1/50, 1/100, 1/200.
- Set backup: use both card slots (if present) to record photos or video to two cards.
- Create user presets for common jobs: landscape, portrait, and video.
Lenses that work well in New Zealand
- Landscape: wide zoom (e.g., 16–35mm full‑frame equivalent) for sweeping coasts and alpine valleys.
- People: fast prime (35mm or 50mm) for clean backgrounds and low light in cafes or venues.
- Wildlife and sport: telephoto (300mm+ equivalent) for birds and field sports.
- Travel: 24–105mm or 18–135mm equivalent to cover most scenes without changing lenses.
Care and field tips
- Rain and sand: use a simple rain cover or dry bag; wipe salt spray promptly.
- Cold: keep spare batteries warm; avoid rapid condensation—bag the camera before moving indoors.
- Ethics and access: respect rāhui, DOC guidance, and private land. Give wildlife space and minimise disturbance.
FAQ
What camera should a beginner buy?
Pick an entry‑level mirrorless with a kit zoom and add a fast 35mm or 50mm prime later. You get strong autofocus, good video, and room to grow without a heavy bag.
Mirrorless vs DSLR: which is better?
For most people today, mirrorless wins. It offers faster autofocus, better video, and live exposure previews. DSLRs still appeal if you prefer an optical viewfinder and very long battery life.
Do I need a full‑frame camera?
No. APS‑C and Micro Four Thirds cover most needs with smaller, lighter kits. Go full‑frame if you want the best low‑light performance, shallower depth of field, or maximum dynamic range.
What lens is best for New Zealand landscapes?
A wide‑angle zoom around 16–35mm full‑frame equivalent handles mountains, coasts, and cityscapes. Add a light telephoto to compress distant ridgelines or isolate details.
How do I shoot the Milky Way?
Use a fast lens (f/1.4–f/2.8), manual focus on a bright star, ISO 1600–6400, and 10–25 seconds exposure depending on focal length. As a rule of thumb, use 500 divided by your full‑frame equivalent focal length to limit star trails. A sturdy tripod helps under the clear Mackenzie skies.
Is my camera safe in the rain?
Weather‑sealed bodies and lenses resist light rain and spray but are not waterproof. Use a rain cover in downpours and dry the gear after exposure to salt.
What memory card should I use?
For bursts and 4K video, choose SD UHS‑II V60/V90 or CFexpress if your camera supports it. Format cards in camera, not on a computer.
4K or 1080p for video?
4K offers sharper results and better cropping. 1080p is fine for quick edits and social media. If you pan or shoot action, 50/60 fps looks smoother.
Where should I buy a camera in NZ?
Specialist stores like Photo Warehouse, Progear, and Rubber Monkey offer hands‑on advice. PB Tech and Noel Leeming carry broad ranges. Buying from NZ retailers gives you Consumer Guarantees Act protection and local warranties.
What about grey imports?
Grey imports can be cheaper but may lack NZ warranty or support. The Consumer Guarantees Act applies when you buy from a NZ‑based seller. For peace of mind, stick with authorised retailers.
Any indoor setting tips for New Zealand lighting?
Yes. NZ mains frequency is 50 Hz, so set anti‑flicker to 50 Hz or use shutter speeds like 1/50, 1/100, 1/200 to avoid banding under some LEDs and fluorescents.
Essential accessories to consider
- Polariser for glare on lakes and lush greens.
- ND filters for long‑exposure waterfalls and seascapes.
- Extra batteries and a dual charger for trips away from power.
- Lightweight tripod for night shots and time‑lapse.
- Comfortable strap or clip for tramping.
Final thoughts
The best camera is the one that fits your hand, your style, and your weekends. Choose a system you can build on, learn its strengths, and get outside. New Zealand will do the rest.